InstantSiril Configuration
First Start
InstantSiril can be downloaded here: Mac / Windows
Before the first start, an initial test dataset should be prepared. The individual images from the Seestar are required, located in the directory ending with "sub". The object name is always at the beginning. These can be copied to any directory on your hard drive. Only the .fit files are needed; please do not (!) copy the .jpg files. There should also be another directory on the Seestar named only with the object name. Inside, there is a stacked version of the subject, and the name begins with "Stacked". Please also copy this .fit file to the same directory on your hard drive. This file is used for image cropping. It is not required when processing comets.
The source data should look something like this:
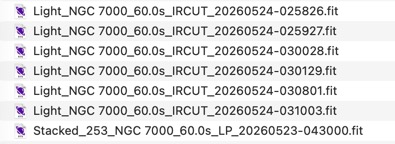
(No jpg files; the stacking reference file is in the same directory)
Since version 1.3, files can also be organized into folders. One folder level is supported. For example, you can collect the results from multiple nights in separate folders:

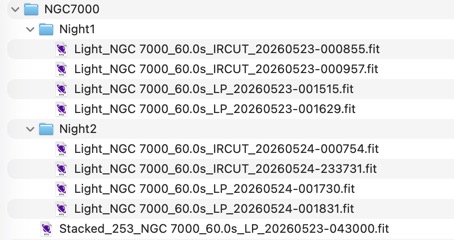
In principle, InstantSiril determines from the header of each file which filter should be taken into account for processing. If you place FIT files in a folder named "IRCUT" or "RGB", processing with an IRCUT filter is forced for these files, regardless of the entries in their headers. The same applies to LP filters, using the folder name "LP" or "DN" (Light Pollution / Dual-Narrow-Band). This is what it would look like in practice:

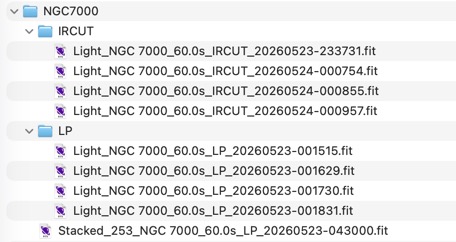

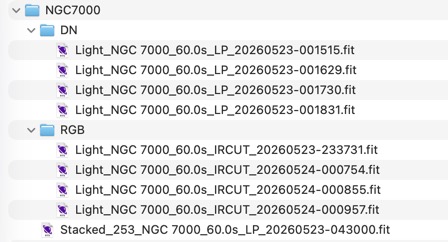
This method can be used if you want to process data from telescopes that use different naming conventions for filters.
InstantSiril can now be executed. First, the program checks if a configuration file named "instantsiril_conf.txt" exists in the user's home directory. On the first start, this is not the case, and the installation routine begins. Note: During the following steps, the operating system will ask for access permissions multiple times. You must grant permission or select "Always Allow" for each request. Example of such a message:
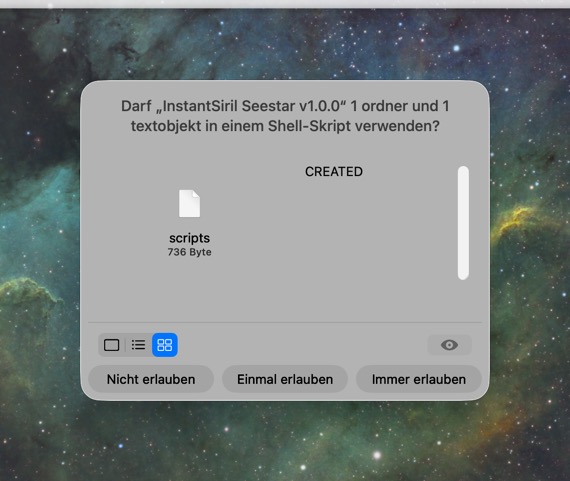
A notice appears stating that the Siril home directory must be selected first:
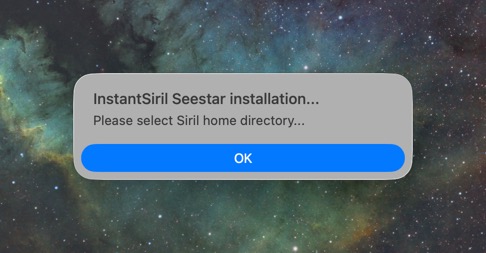
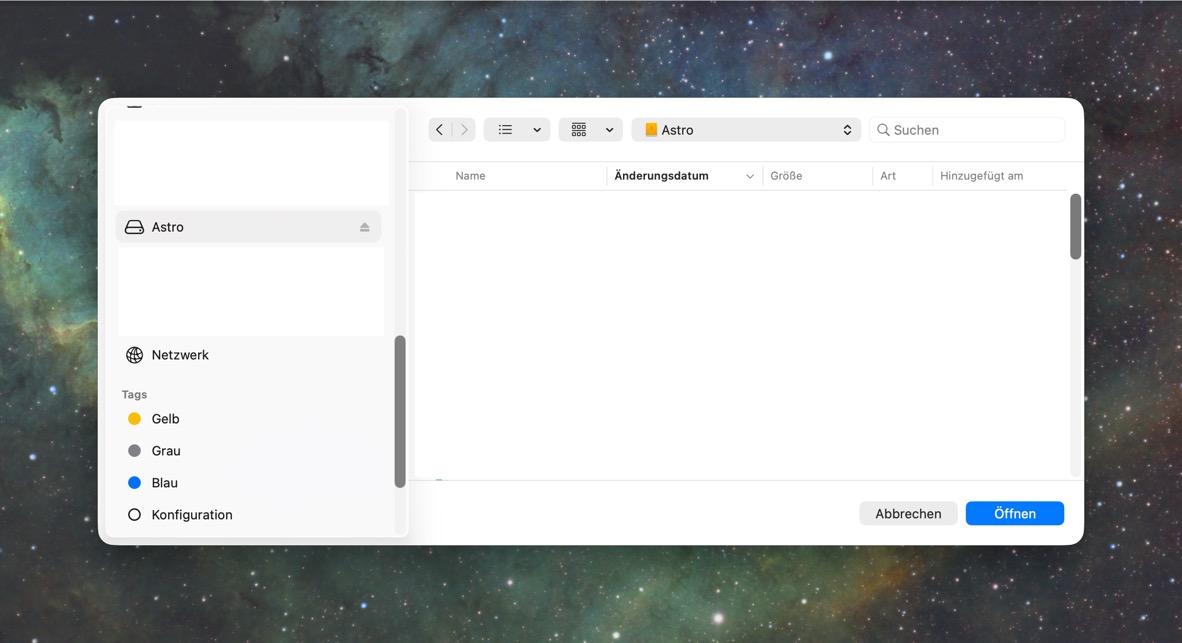
We select the Siril working directory. As previously shown, mine is the hard drive "Astro":
Next, a prompt appears asking for the path to the custom script directory. We previously set this up during the Siril configuration:
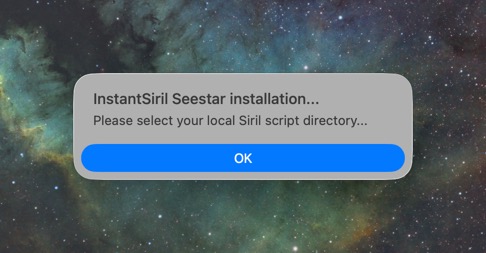
Selecting the script directory:
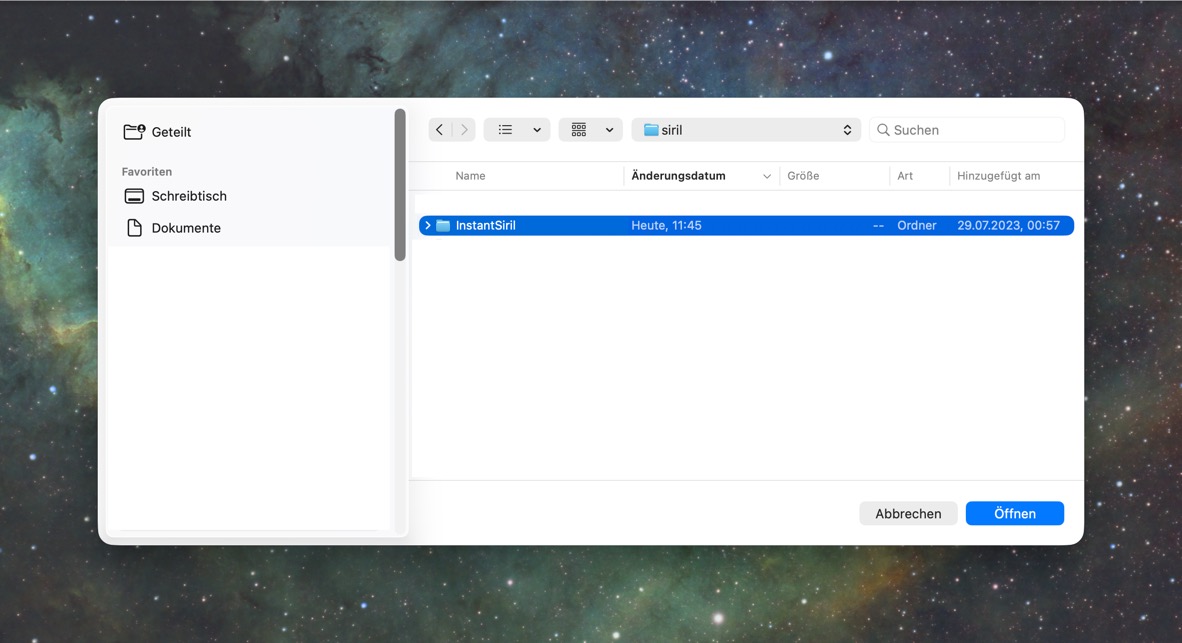
The installation is now complete. The following data were added to the script directory:
- Instantsiril_settings_global.py
- Instantsiril_settings_object.py
The configuration file with the basic settings is located in the User directory.
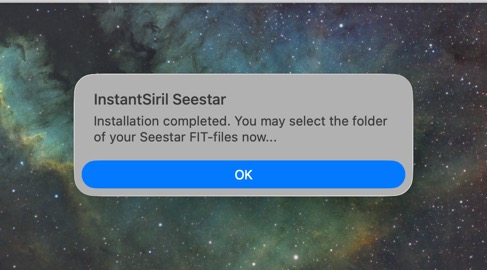
InstantSiril now asks for the first files to be used. Because of this, it is beneficial to have the initial test dataset available as described above. When InstantSiril is started again later, this directory prompt will appear directly:
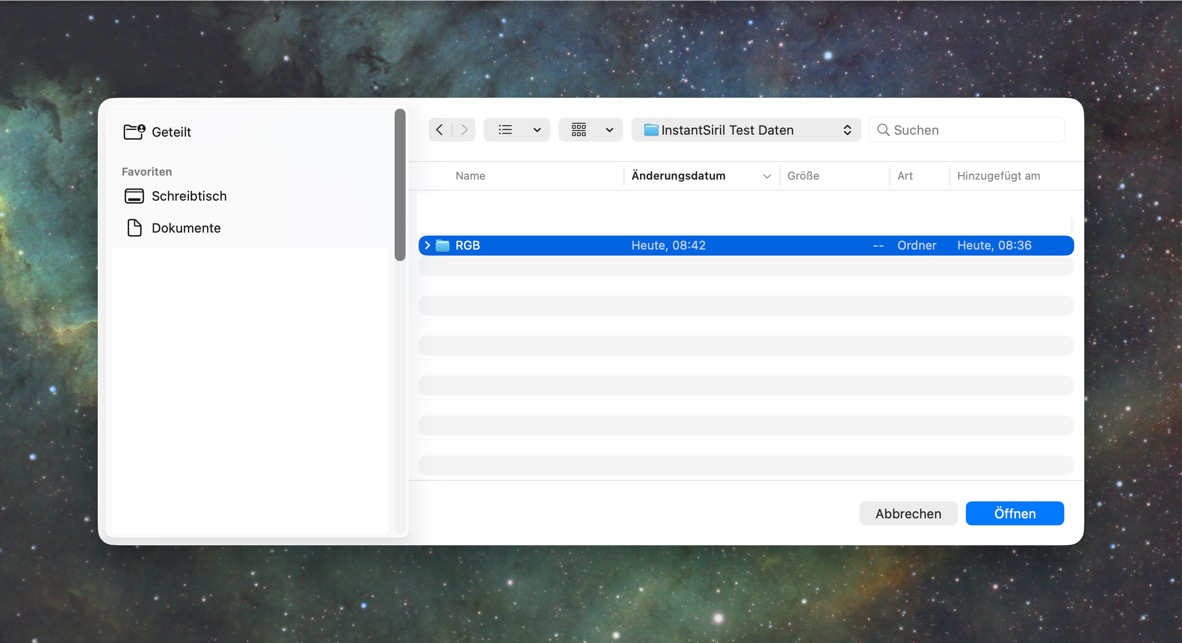
InstantSiril now creates an additional folder named "InstantSiril" in the Siril working directory, copies the source files into it, generates the Siril work script, and then starts Siril.
In Siril, the work script "_InstantSiril.ssf" should now be located under "Scripts / Siril Script Files." This script must be started to process the data.
Note for Windows:
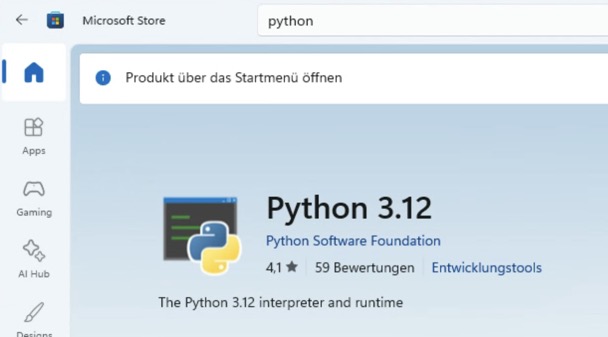
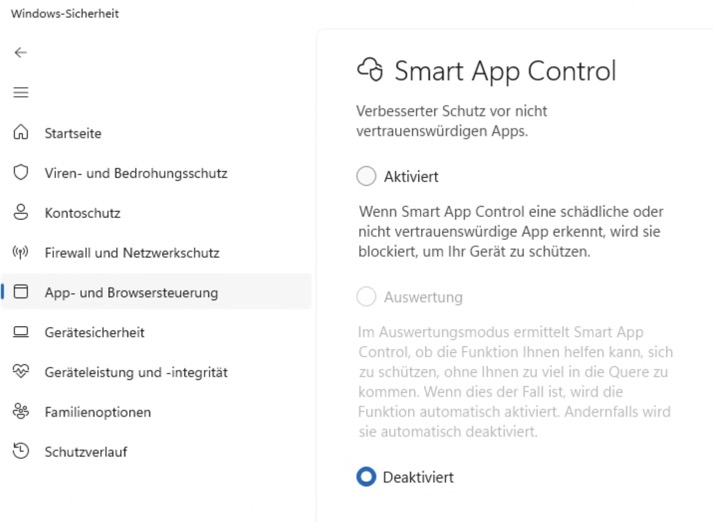
To get InstantSiril running, I first had to install Python on my Windows system and then disable "Smart App Control" under Windows Security:
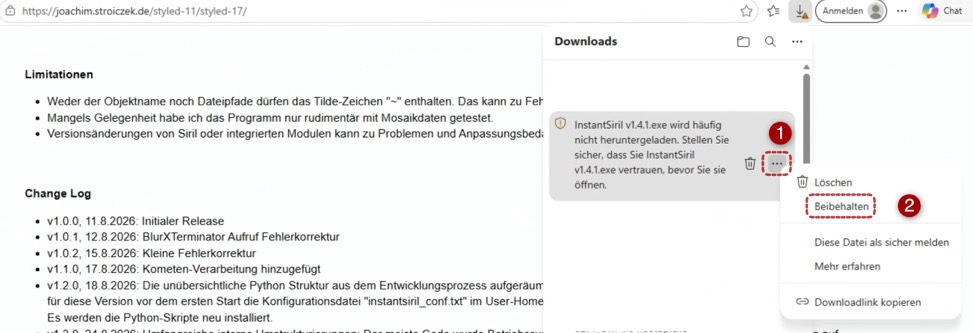
The Windows program is not signed, so a security warning will appear during the download. You need to choose to keep the file regardless:
Setting Parameters
The first start should have produced an initial result. InstantSiril can now be adjusted to suit your own needs. The configuration can be edited by opening the program "Instantsiril global settings.py" under "Scripts / Python Scripts" The following parameters can be specified here:
- devicename: Used for the object description. (Default: "Seestar S30 Pro"). If a known telescope is detected in the FIT file header, the system uses that value instead of the one configured here. Currently supported: Seestar S30, S30 Pro, S50.
- sensor: Used for color calibration. Must match the telescope (e.g., Seestar S30 Pro: Sony IMX585 / Seestar S50: Sony IMX462). If a known telescope is detected in the FIT file header, the system uses that value instead of the one configured here. Currently supported: Seestar S30, S30 Pro, S50.
- homepath: The path to the Siril working directory.
- seestar_scriptpath: The path to the custom Siril script directory.
- film_emulation: [none | Velvia | Provia | Classic | Acros] Experimental color adjustments. Creates an additional file with a corresponding name. Only relevant for automatic stretch.
- rotate: Rotation of the result (-1: 90° counter-clockwise, 0: no rotation, 1: 90° clockwise).
- background_extraction: [none | Siril | Graxpert] Selection of the module for gradient removal.
- denoise: [none | Graxpert | SyQon | RC-Astro] Selection of the module for noise removal.
- deconvolution: [none | Graxpert | SyQon | RC-Astro] Selection of the module for image sharpening.
- star_removal: [Starnet++ | SyQon | RC-Astro] Selection of the module for star removal.
- stretch: [Siril | SetiAstro] Selection of the module for the final automatic stretch.
- feather: [0 ... 200] Number of pixels for overlap adjustments in mosaics (prevents visible seams).
- asinh: Pre-stretch to preserve color saturation (values 2–5 recommended; range [0–1000]). Only relevant for automatic stretch.
- modasinh: Alternative asinh method for images with extreme contrast [0–10]. Only relevant for automatic stretch.
- location_height: Capture height in meters above sea level. Used for color calibration and comet calculation.
- veralux_stretch: If activated, the resulting image is loaded in Siril and the VeraLux utility program is started.
- veralux_starless: If activated, a starless version of the image is prepared and pre-loaded for the stretch. After the stretch, the image should be saved as a .fit file; then, using the Veralux script "StarComposer," it is merged with the star mask to create the final image.
- crop_percentage: Percentage of the image edge to be cropped.
- denoise_strength: Strength of denoising. Do not overdo it or push too close to 1, otherwise the result will look artificial and the automatic stretch will fail.
- dc_stellar: Strength of sharpening (deconvolution) for stars (low value recommended to avoid artifacts, e.g., 0.2).
- dc_nonstellar: Strength of sharpening (deconvolution) for nebulae/galaxies (0.7 is a good standard value).
- star_brightness: Dampens the dominance of stars in the automatic stretch. The smaller the value, the weaker the stars become.
- saturation: Increases color saturation during the automatic stretch.
- Object description template: Specifies the format for how processing parameters appear in the output file "object_data.txt". Details will be described later.
If settings need to be changed for a specific capture only, they can be set using "Instantsiril_settings_object.py". The setting always refers to the most recently processed object. Any setting intended to override a global parameter must be activated via its checkbox. The configuration file is saved in the object's source directory. The following settings are available exclusively as local settings:
- comet: enables the comet editing mode (see chapter "Examples")
- cometID: the ID number of the comet to be processed
- Mosaic: Enables the processing of images composed of multiple tiles. On Seestar devices, this is handled automatically based on the filename convention.
- Longitude / Latitude: Observation location used for comet processing. This information is typically stored in the FIT files and is automatically taken into account. This input option exists solely for cases where this information is missing from the source files.
>>> Program Logic
>>> Back to the Table of Contents